Workshop Blender for Beginner
by Toys of Hendrik
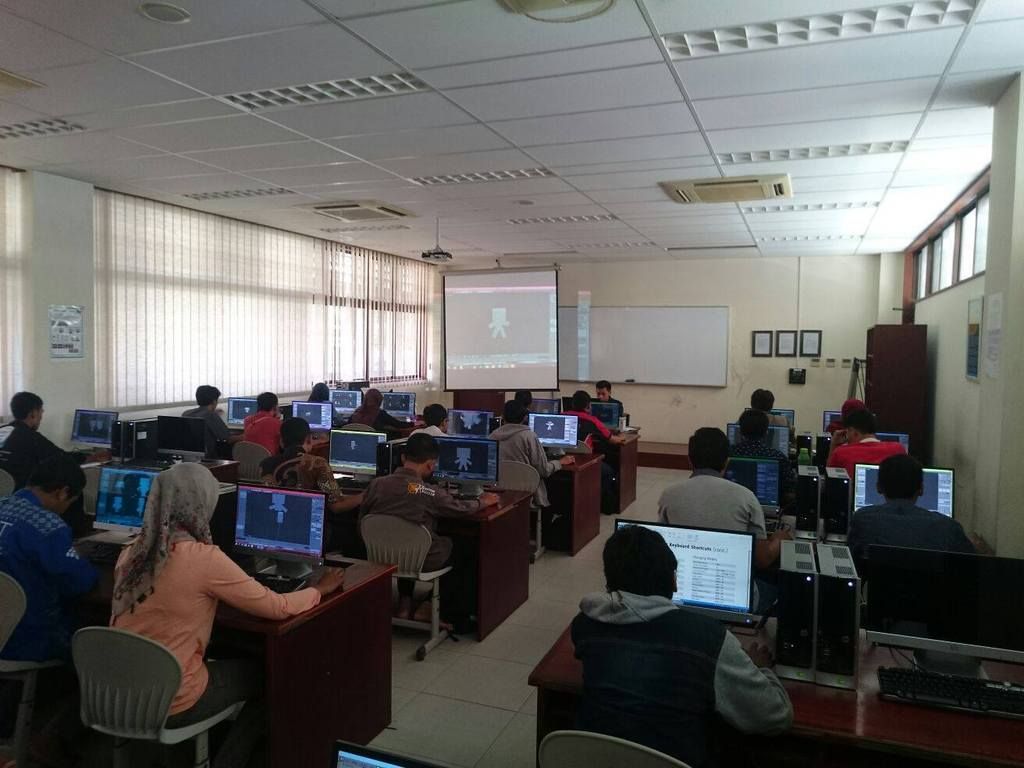
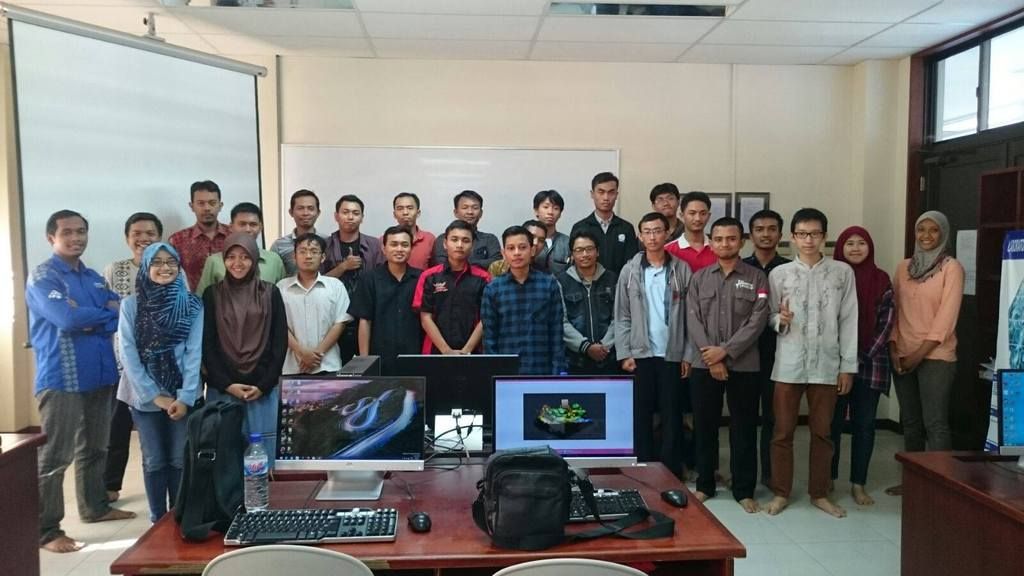
Sunday November first, thank God I’ve a chance to gave some training about how to begining 3D modelling with Blender on my campus (but I’m already graduated from there). Started with I made a lowpoly environment like the picture above and then my juniors from Ristek was asking me about how if they make a workshop about 3D modelling and I’m the trainer, so I said of course yes. I made a readable tutorial (unfortunately I can’t share that) three days before and trying to make a good start step by step like below.
1. Introducing Blender Shortcuts
In Blender, shortcuts are matter. I wrote how to select one object or a multiple object on Object Mode. How to make a default object with pressing Shift + A on keyboard. Changing camera view on front, right, left, back, top, or bottom. Until performing grab, scale, and rotate then make a simple character like danboo.
2. Modelling on Edit Mode
So we starting with danboo still on Object Mode. We just add a cube or duplicate the cube, scale, rotate, and grab to match the shape or make his arm. After the danboo looks good, we jump to start a modelling on Edit Mode. Making danboo again but in a single object from just one cube. We repeate again but in a different way and better. The danboo will look good with a bunch of trees, so we make a simple tree.
3. Scuplting for The Floor
The danboo and the trees look flying, we make a floor then but the floor should be wavy. We jump to a sculpt mode from a Plane object and enabling the dynotopo. Sculpting a floor but there is a mount and the standing trees will make it looks like a garden or forest.
4. Texturing with Material
Honestly I’m bad at this point. I can’t draw or paint an object, just not sure about mixing colors. So that’s why we made a lowpoly or a sureal environment. At the first time I was thought maybe it’ll be easy if I add the color by one material one object. But I just found an other way, paint the 3D model directly with made an empty texture firstly. So we paint the objects 3D-ly.
5. Lighting Experiment
Technically, it’s the easiest way but maybe it’s also hard if we are very perfectionist. Just like adding a default object with pressing shift + A on keyboard then we choose some lighting tyoe like sun, point, area, or spotlight. We also can change the energy parameter. The more energy, the more lighty and we just move it to the right place and looks good by the camera before we press F12 to render it. Finally we press F12 to render it (we don’t take it so long right ?) and the workshop was finished. I thank to everyone especially for Ristek who make me back to the campus. That was a great experience.


